How to Refelt a Pool Table: Steps, Costs, and the Logo Rule
What refelting actually involves — staple vs glue, the stretch sequence, rail wrapping, where the maker's logo really goes, and what a pro charges.
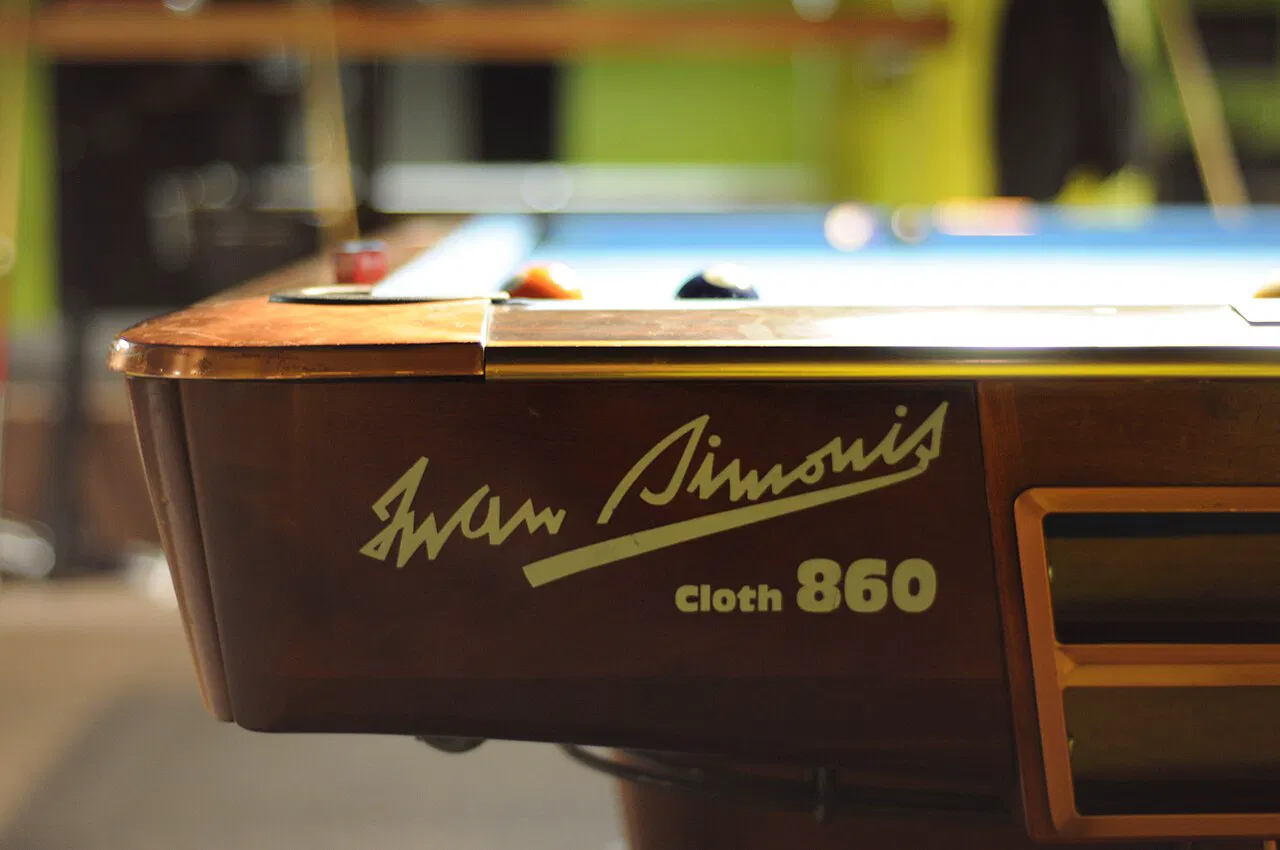
Refelting — stripping the old cloth and stretching new cloth over the slate and rails — is the one pool table job most owners will face exactly once per cloth lifetime. Done right it makes a tired table play like new; done wrong it wastes a piece of cloth that costs real money. Here is what the job actually involves, what the manufacturer's own FAQ insists on, and when paying a pro is the smarter buy.
When a Table Needs New Cloth
Cloth wears out on a schedule, not on demand. Most recreational cloth needs replacing every 3–7 years depending on play volume and fabric quality — our cloth care guide puts routine replacement at three to five years. The telltale signs, per installer guides:
- Wear tracks in the break zone and along rail lines where balls travel most
- Pilling or fuzzing that makes rolls inconsistent
- Tears, burns or miscue gouges
- Fading from sunlight and spills
- Dead spots where balls slow or drift off-line
One extra caution from service shops: cloth older than roughly 7–10 years turns brittle and can tear if you try to save and reuse it during a move — refelt with new material instead.
Buying the Cloth: Precut Kit or Roll
Two details matter before the tools come out.
Cloth type. The worsted-versus-woolen choice decides speed, durability and price — worsted (Simonis, Predator Arcadia, Championship Tour Edition) is the combed, nap-free tournament standard; woolen or napped cloth is slower, cheaper and fuzzier. That comparison already lives in our table materials guide and buying guide, so the short version here: if you are paying for labor anyway, worsted's longer life usually wins.
Cut. Brand-name kits like Predator's Arcadia arrive precut — bed cloth and rail cloth as separate pieces, already sized, with no rolls or bolts sold. Predator's own sizing advice: an 8-foot oversized table should step up to the 9-foot precut rather than hunt for a custom cut. If you are buying by the roll instead, wikiHow's install guide says to allow at least 12 inches of extra cloth on all four sides so there is enough material for both the bed and the rails.
Find the play side before anything else. Cloth boxes usually mark it with a sticker or label — check before unrolling, because guessing is how tables end up clothed inside-out. On Simonis, the install sheet says the play side carries the "IWAN SIMONIS" name along the selvedge and feels smooth and napless to the touch.
Check for Defects First — the Warranty Fine Print
Before a single staple goes in, unroll the cloth and inspect it for knots or defects. Predator's felt FAQ is explicit that the cloth warranty covers the material — not the labor spent installing it. A flaw discovered after stretching costs you both the cloth claim hassle and the installer's time. Predator also flatly recommends using an experienced installer and disclaims responsibility for problems caused by improper installation, which tells you how the manufacturer rates DIY difficulty.
Staple-Down vs Glue-Down
Which method applies is decided by your table, not your preference:
- Stapling works when the slate has a wooden or particle-board backing frame the staples can bite. Check the table's perimeter edge — if there is wood under the slate, staples are your route, with a manual stapler, hammer tacker or staple gun.
- Glue-down is for bare slate with no backing — common with worsted cloth on tournament-style tables. Adhesive goes on in a band around the slate edges; guides advise letting it get tacky before pressing the cloth into it rather than wet-setting.
Removing the old cloth matches: pull staples with a flathead and pliers, peel glued cloth carefully. Then clean the slate — dry methods only, scrape adhesive residue with a putty knife — and take the one-time opportunity to check the slate itself: fill seam gaps on 3-piece slate with beeswax and verify level with a machinist's level, because this is the last easy access you get.
The Bed Cloth: Stretch Sequence
Installer diagrams from CueSight and Simonis describe the same pattern: the bed cloth gets anchored and stretched in a fixed order so tension stays even.
- Lay the cloth play-side up with the bulk of it overhanging the foot end and right side; staple the head end first — a short run of staples about an inch apart.
- Stretch across the table to the foot end and tack it.
- Work the long sides next, pulling toward the side pockets and tacking in sequence, always stretching across the table rather than along it.
- At side pockets, cut a short slit centered on the pocket opening, pull the cloth into the opening and tack it to the undercut of the slate frame.
- Independent guides simplify this to: work outward from the center of each side, alternating sides so tension stays balanced — the goal is drum-tight and wrinkle-free.
Pocket openings get three or four relief cuts, roughly half an inch from the slate edge, so the flaps fold under cleanly. Rail-bolt holes are easiest found by feeling from below and cutting up through the cloth. Cut too much at a pocket mouth and you will see bare slate forever — this is the step where patience pays.
The Rails — Where DIY Jobs Go Wrong
Every installer guide agrees the rails are the hard part. Each rail gets stripped of its old cloth, then the new piece is wrapped tight around the cushion's curved nose profile and stapled to the back of the rail — in small sections, keeping tension consistent so the cloth follows the curve without bunching. Precut rail pieces (which brand kits include) remove the measuring but not the technique. After reassembly, test ball rebound on every rail to confirm cushion compression came out even.
The Logo Rule: Under the Rail, Not on Top
The detail that sparks the most installer questions — and the one Predator made a video about — is brand placement. On Predator's Arcadia cloth the logo is meant to go under the rail, not on top of it: centered on the bottom inside face of the rail, where it reads correctly to someone looking at the table's side but never interferes with play.

This is standard practice, not a Predator quirk. Simonis ships its rail cloths printed separately from the bed cloth, and table mechanics on AzBilliards describe positioning the printed logo so it lands on the underside of a short rail — the same convention behind the branded rails you see on televised matches. Custom-printed cloth follows the same logic: keep artwork off pocket mouths and busy edges.
DIY vs Paying a Pro
A DIY refelt is genuinely doable — patient first-timers finish beds cleanly; rails are where most struggle — but price the trade honestly. Thumbtack's marketplace data puts a professional refelt at $260–940 nationally, averaging about $425, and the job typically takes a pro two to four hours. Published service menus cluster in the same band: roughly $350–650 depending on table size and cloth grade, with Simonis installs at the top of the range — and that usually includes old-cloth removal, slate inspection and a level check. Some shops cut $200 or so off a refelt done during a table move, since the table is already apart (our moving guide covers why felt comes off for moves anyway).
Against that, DIY spends the cloth's cost plus tools — and risks the one outcome the warranty will not cover: labor. If the table is expensive, the cloth is premium worsted, or you have never stretched cloth, the pro's fee is the smaller number to lose.
How long does pool table cloth last?
Typically 3–7 years depending on use and quality — worsted cloth at the longer end, often 5–10+ years with good care. Brush regularly and keep the table covered; our felt cleaning guide has the routine.
Should pool table felt be stapled or glued?
Whichever your table is built for. Staples need a wooden backing under the slate; bare slate takes adhesive around its edges. Check the table's edge for wood before buying supplies.
Which side of pool table cloth faces up?
The labeled play side. Look for the sticker or mark on the roll — on Simonis, the selvedge printed "IWAN SIMONIS" marks the play side, which also feels smooth and napless.
Does the felt logo go on top of the rail?
No — manufacturers place it under the rail. Predator's own FAQ states the logo goes on the bottom inside of the rail, and Simonis ships pre-printed rail cloth that installers center the same way.
Can I reuse my cloth when moving a table?
Only if it is fairly new. Cloth older than roughly 7–10 years gets brittle and may tear during re-stretching, so movers and installers recommend refelting with new cloth — often at a discount when bundled with the move.
Sources
- Predator — Pool Table Felt & Cloth FAQ (installation, logo placement, precut sizing)
- CueSight — How To Install Pool Table Felt (PDF)
- Simonis — cloth installation guide (PDF)
- Quarter King Billiards — How to Refelt a Pool Table
- Big Cat Cues — How to Refelt a Pool Table in 8 Steps
- wikiHow — How to Felt a Pool Table
- Thumbtack — cost to refelt a pool table
- AzBilliards — Simonis branding on rail cloth (installer discussion)
More coverage
Keep reading
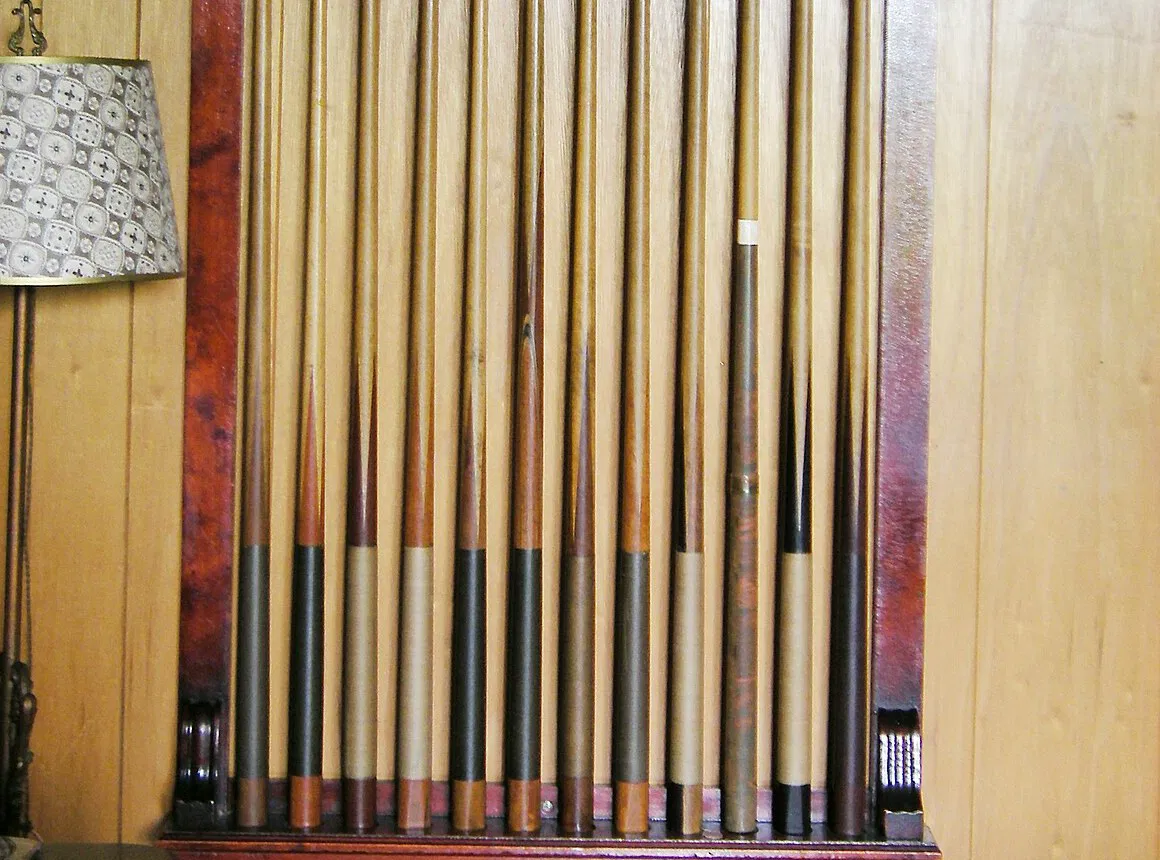
Sneaky Pete Cue Explained: The House Cue That Isn't
A Sneaky Pete is a quality two-piece cue built to look like a cheap bar cue — plain outside, serious inside. The history, the tells, and what they cost.
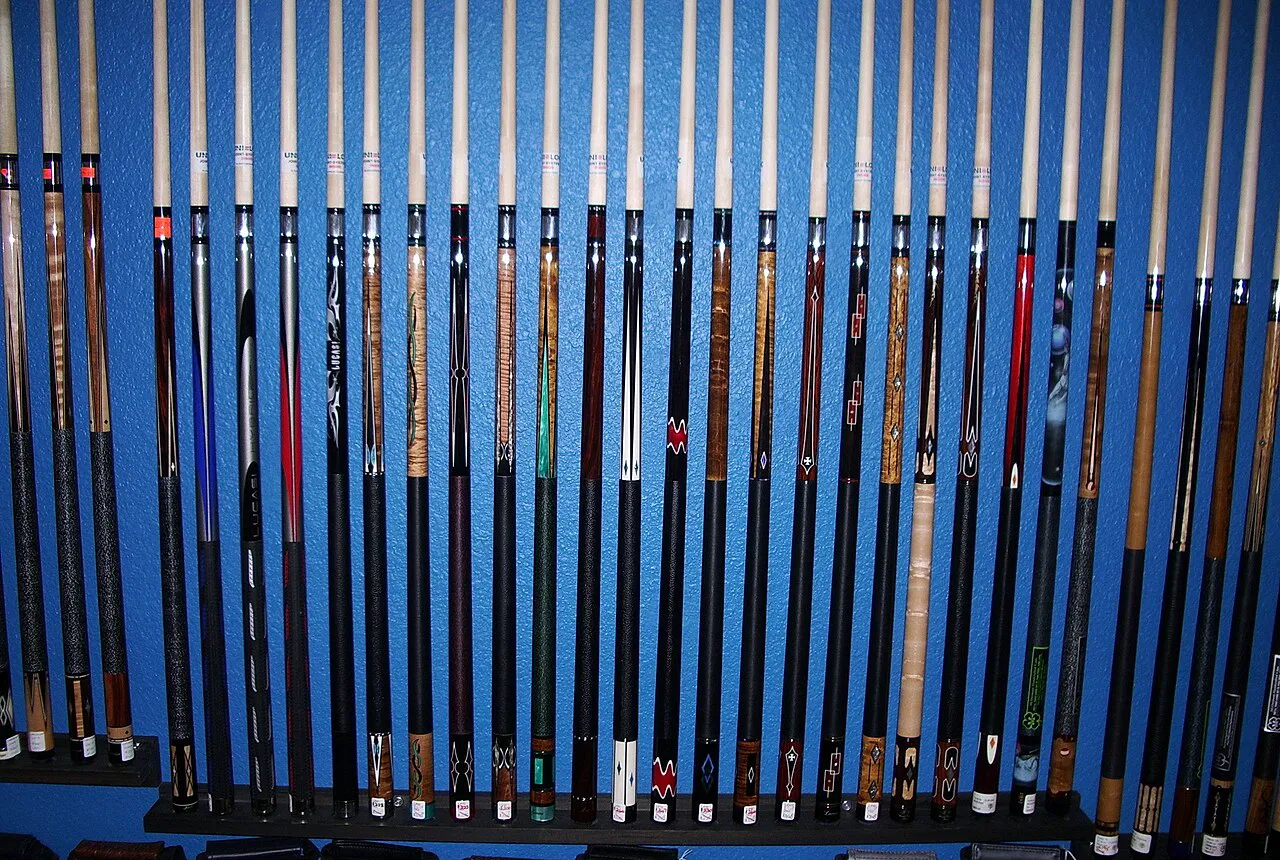
Pool Cue Wood Types: Maple, Ash, and What the Exotics Do
Maple rules the shaft, ash owns snooker, and ebony, cocobolo and rosewood dress the butt. What cue woods actually change — and what is decoration.

Pool Table Cloth Compared: Simonis vs Gorina vs Andy
Walk into any forum thread about reclothing an American pool table and the same three names surface within minutes: Simonis, Gorina and Andy. All three make…